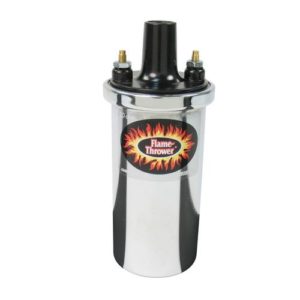
Dr. Diesel™ helping you install an ignition coil
A lot of us played video games while in school and never picked up basic blue-collar mechanical skills. Dr. Diesel™ has come to the rescue of you video game slackers. This Tech Tip shows you how to install an ignition coil without damaging it, your engine, or even yourself.
- Make sure the ignition key is in the off position and/or remove the battery cable from the battery. This prevents a “bad hair day”.
- Remove the coil wire from the coil tower.
- Remove all wires from the positive (battery) coil terminal.
- Remove all wires from the negative (distributor) coil terminal.
- Loosen the coil clamp and remove the existing coil. Install the new coil in the existing coil clamp and tighten it in place.
- Connect the wires that were removed from the negative (distributor) terminal of your old coil to the negative terminal of the coil.
- Connect the wires that were removed from the positive (battery) terminal of your old coil to the positive terminal of the coil. NOTE: The positive coil terminal is where the ignition switch lead is connected.
- Push the coil wire into the oil tower making sure the boot is secure around the coil tower.
Written by Dr. Diesel
Knowledge is power. To help our customers, we share tech tips summarizing some of our opinions, knowledge and information of interest that we have gathered since 1916 when Foley Engines opened for business. If you have any questions or comments, go to “Ask Dr. Diesel™” where you can pose questions about engines, clutches, exhaust scrubbers, etc.